Turn Your Mac Mini Into a Powerhouse Server With Cloudflare Tunnel (No VPS Required)
Turn Your Mac Mini Into a Powerhouse Server With Cloudflare Tunnel (No VPS Required)
The Economics of Self-Hosting
Let's talk money first. Traditional web hosting models have trained us to accept recurring costs as inevitable. A decent VPS? That'll be £20-30 monthly. Add monitoring, backups, and support? You're looking at substantial yearly expenditure.
What if I told you there's another way?
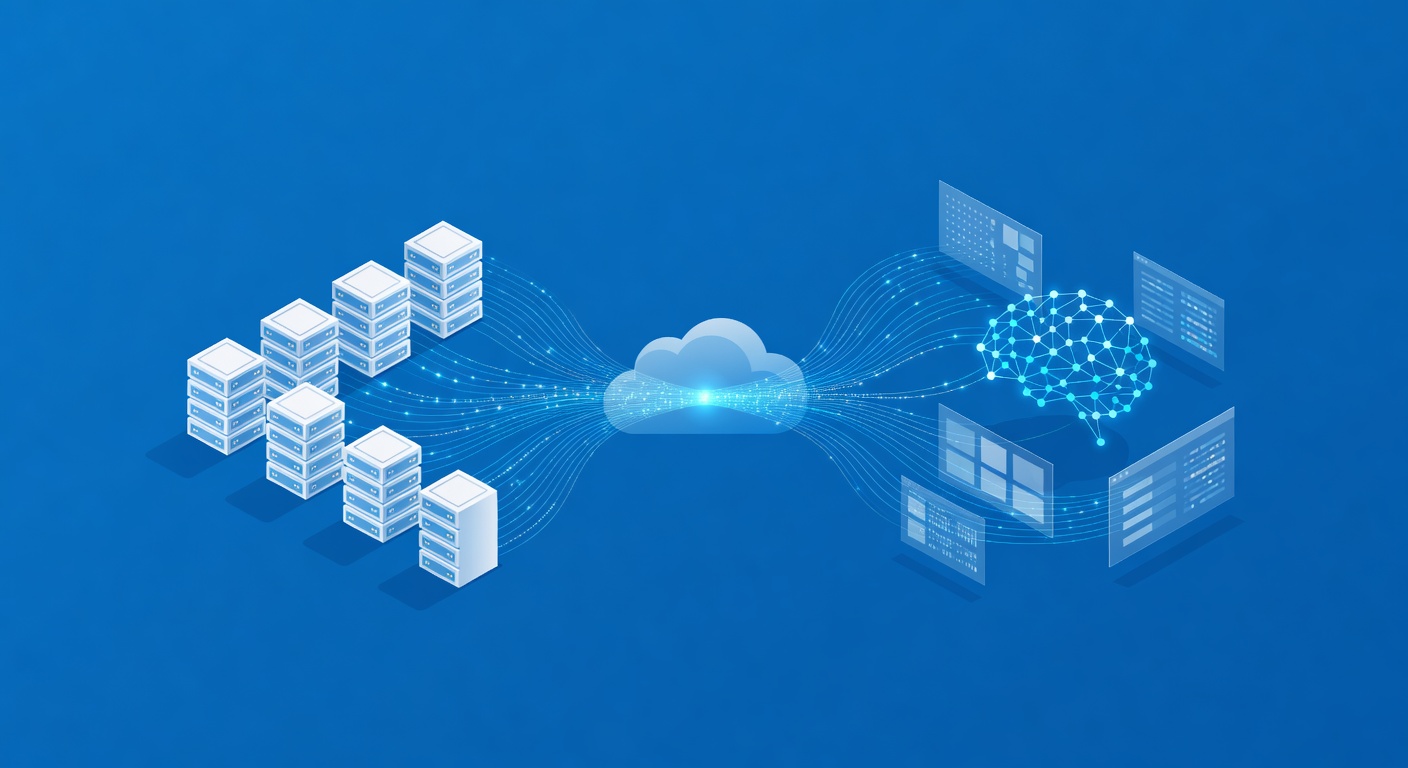
By leveraging Cloudflare Tunnel—a reverse proxy service that creates a secure connection between your home infrastructure and the internet—you can host multiple websites and applications for essentially the cost of electricity. We're talking about slashing your hosting expenses to nearly zero while maintaining the reliability you need.
Why Cloudflare Tunnel Changes the Game
Cloudflare Tunnel isn't your typical VPN or proxy service. It's a sophisticated tunneling mechanism that:
- Eliminates port forwarding headaches: No more wrestling with router configurations or worrying about security implications
- Provides enterprise security: Your home IP remains hidden while Cloudflare's global network handles DDoS protection and caching
- Works with residential connections: Unlike older self-hosting methods, you don't need a business-class internet connection
- Scales beautifully: Whether you're hosting one site or thirteen applications, the architecture remains elegant and performant
The catch? You'll need a reasonably fast, stable internet connection. If your ISP frequently drops connectivity or throttles speeds, this approach will frustrate you. But if you've got solid fiber or cable, you're golden.
Hardware: Mac Mini M1 Is Your Secret Weapon
Before you assume you need expensive server hardware, consider the Mac Mini M1. At a fraction of the cost of enterprise servers, this little machine offers surprising performance:
- Energy efficient: The entire setup draws minimal power compared to traditional servers
- Headless capable: Run it in a closet without a monitor using macOS Screen Sharing
- Docker-native: Native arm64 architecture support means efficient containerization
- Silent operation: Passive cooling means you won't hear it humming in the background
Could you use a Linux machine instead? Absolutely. But the Mac Mini ecosystem—particularly Screen Sharing and straightforward configuration—makes it more approachable for developers who aren't deep in the Linux trenches.
Setting Up Your Self-Hosted Kingdom
Phase 1: Prepare Your Mac Mini
Connect via Ethernet for maximum stability (wireless works, but wired is superior for server applications)
Assign a static IP address through macOS settings (System Settings → Network → Ethernet → Details → TCP/IP). Choose something memorable outside your DHCP range, like 192.168.0.99
Disable sleep mode entirely (System Settings → Energy) so your server stays responsive 24/7
Enable auto-login for your administrative account (System Settings → Users & Groups). Fair warning: this means disabling FileVault, which is a security trade-off worth considering carefully
Activate Screen Sharing (System Settings → Sharing) so you can manage the machine remotely without keeping a monitor physically attached
Test remote access from another machine to ensure everything works before disconnecting that monitor
Install Docker Desktop for containerizing your applications
Phase 2: Establish Your Cloudflare Tunnel
With your Mac Mini humming quietly in the background:
Obtain a domain through Cloudflare Registrations or use an existing domain you already own
Configure DNS to point to Cloudflare (standard process—nothing revolutionary here)
Create a tunnel through Cloudflare's dashboard (Networking → Tunnels → Create Tunnel)
Select Docker as your runtime and copy the installation command Cloudflare provides
Paste that command into Terminal on your Mac Mini via Screen Sharing
Verify connection by watching Cloudflare's dashboard light up when the tunnel establishes
That's genuinely it. Cloudflare handles the complex networking magic while your Mac Mini runs the actual services.
Phase 3: Deploy Applications With AI Assistance
Here's where modern development shines: use Large Language Models to guide your deployment.
Instead of wrestling with documentation, open Claude on your Mac Mini and ask it to help install and configure applications. The "Code" feature can walk you through installation step-by-step. Similarly, tools like OpenCode can interface with multiple LLMs simultaneously, letting AI do the tedious configuration grunt work.
As your confidence grows, transition to SSH'ing into your Mac Mini directly from your daily machine. Let LLMs handle the bits where you'd normally get stuck and abandon the project.
The Real-World Reality Check
What works brilliantly: Running 10+ applications simultaneously with minimal resource consumption. Building a personal portfolio of projects. Hosting internal tools for your team. Testing before deploying to production infrastructure.
What requires caution: Relying on residential internet for mission-critical production workloads. Banking on consumer-grade hardware for applications serving thousands of simultaneous users. Expecting the same redundancy as multi-region cloud deployments.
The Philosophical Question
Self-hosting with Cloudflare Tunnel sits at an interesting intersection. On one hand, you're reclaiming independence from VPS providers and reducing ongoing costs dramatically. On the other hand, you're creating a dependency on Cloudflare's infrastructure—a US-based company with market dominance in this space.
There's no perfect answer here. The trade-offs are worth understanding, but for most developers and small teams, the practical benefits outweigh the theoretical concerns.
Getting Started Today
You don't need expensive infrastructure to start building. A Mac Mini, a reliable internet connection, a domain, and Cloudflare Tunnel create a surprisingly capable hosting platform. Add modern AI assistance for configuration, and you've got a development environment that would have been unthinkable a few years ago.
The next time you're reaching for another VPS subscription, ask yourself: could your current hardware already do this job? You might surprise yourself with the answer.